
Using an AzureML Webservice to get Sentiment
Sentiment Analysis
Sentiment Analysis takes some text and evaluates whether the text is positive, negative or neutral in tone. Sentiment can be useful when evaluating tweets. Associating the sentiment of tweets to the words in those tweets will allow the app to show the history of positive vs. negative usage of each word.
I spent some time looking for an easy way to add sentiment analysis via a C++ library. I did not find a solution for this.
Azure Machine Learning
My team at Microsoft - Azure Machine Learning, has a sentiment analysis sample that can be used to train a model and then create a web service from the trained model. That web service can be used to analyze the sentiment in tweets.
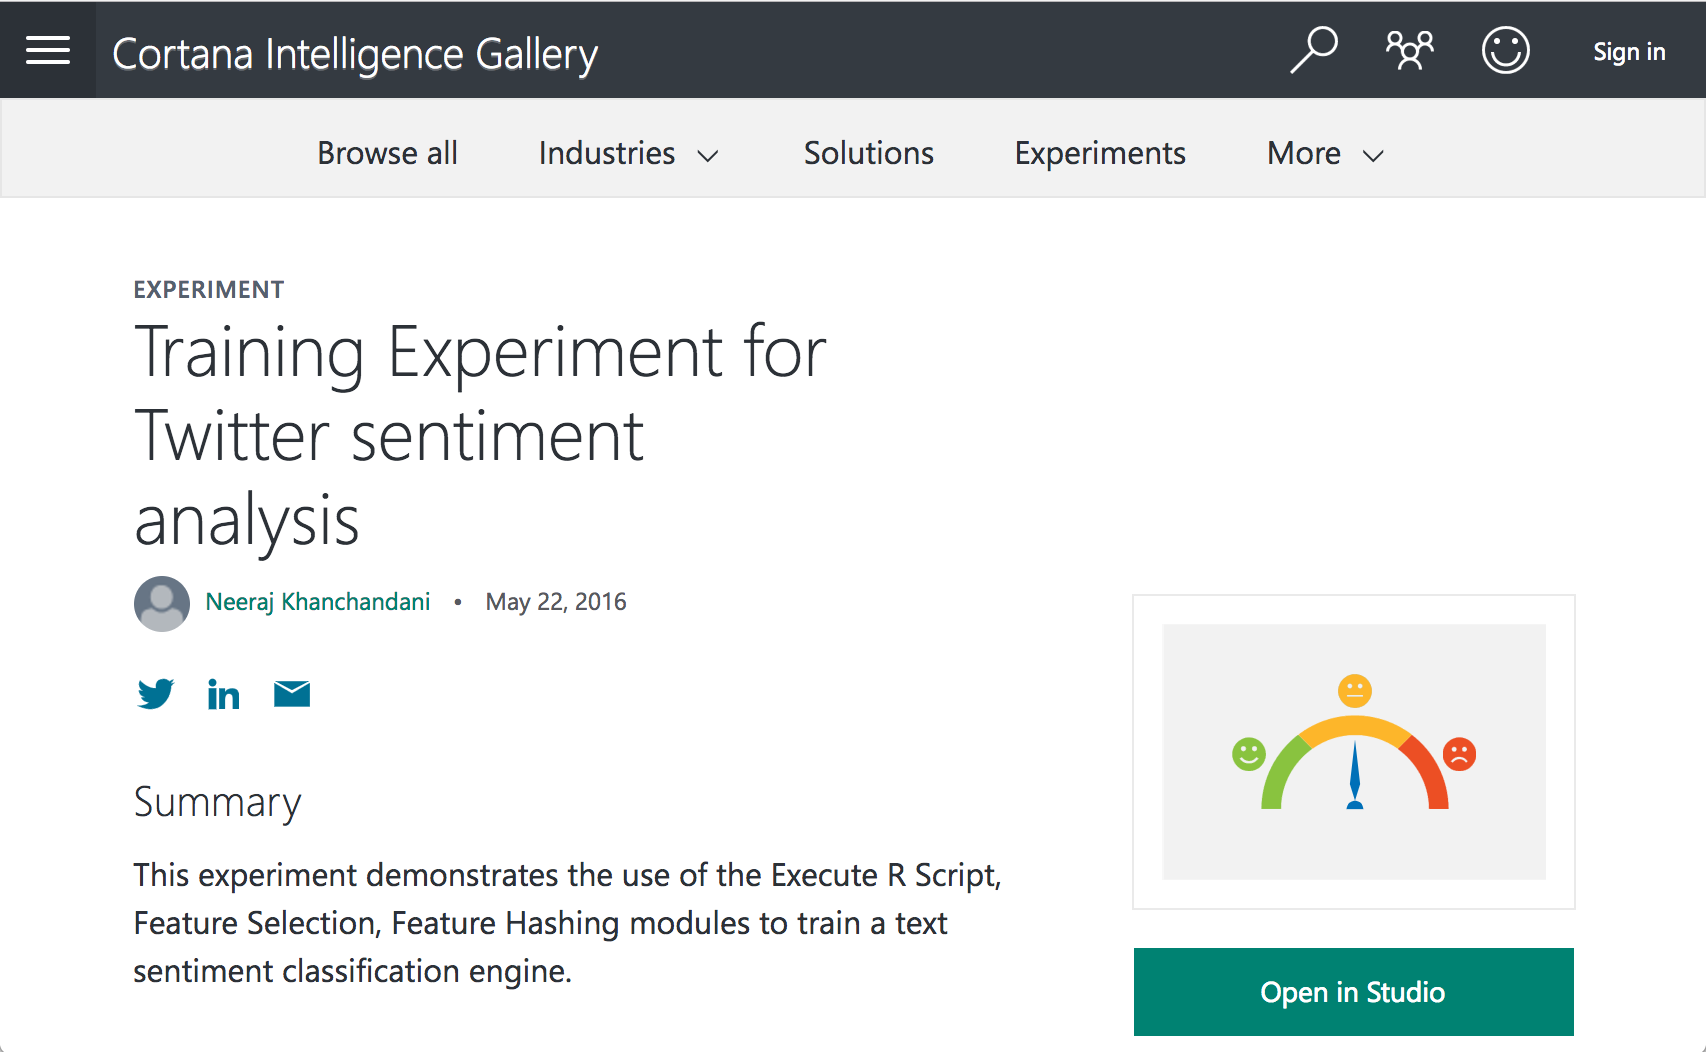
The Cortana Intelligence Gallery has this experiment.
This experiment demonstrates the use of the Feature Hashing, Execute R Script and Filter-Based Feature Selection modules to train a sentiment analysis engine. We use a data-driven machine learning approach instead of a lexicon-based approach, as the latter is known to have high precision but low coverage compared to an approach that learns from a corpus of annotated tweets. The hashing features are used to train a model using the Two-Class Support Vector Machine (SVM), and the trained model is used to predict the opinion polarity of unseen tweets.
There is also a detailed explanation for how the sentiment model is built and the parameters used for the transforms and algorithms.
To get a working web service, I used these two experiments that have been updated more recently.
To get started, open Training Experiment for Twitter sentiment analysis and click ‘Open in Studio’ link to add the training experiment into your Azure Machine Learning Workspace.
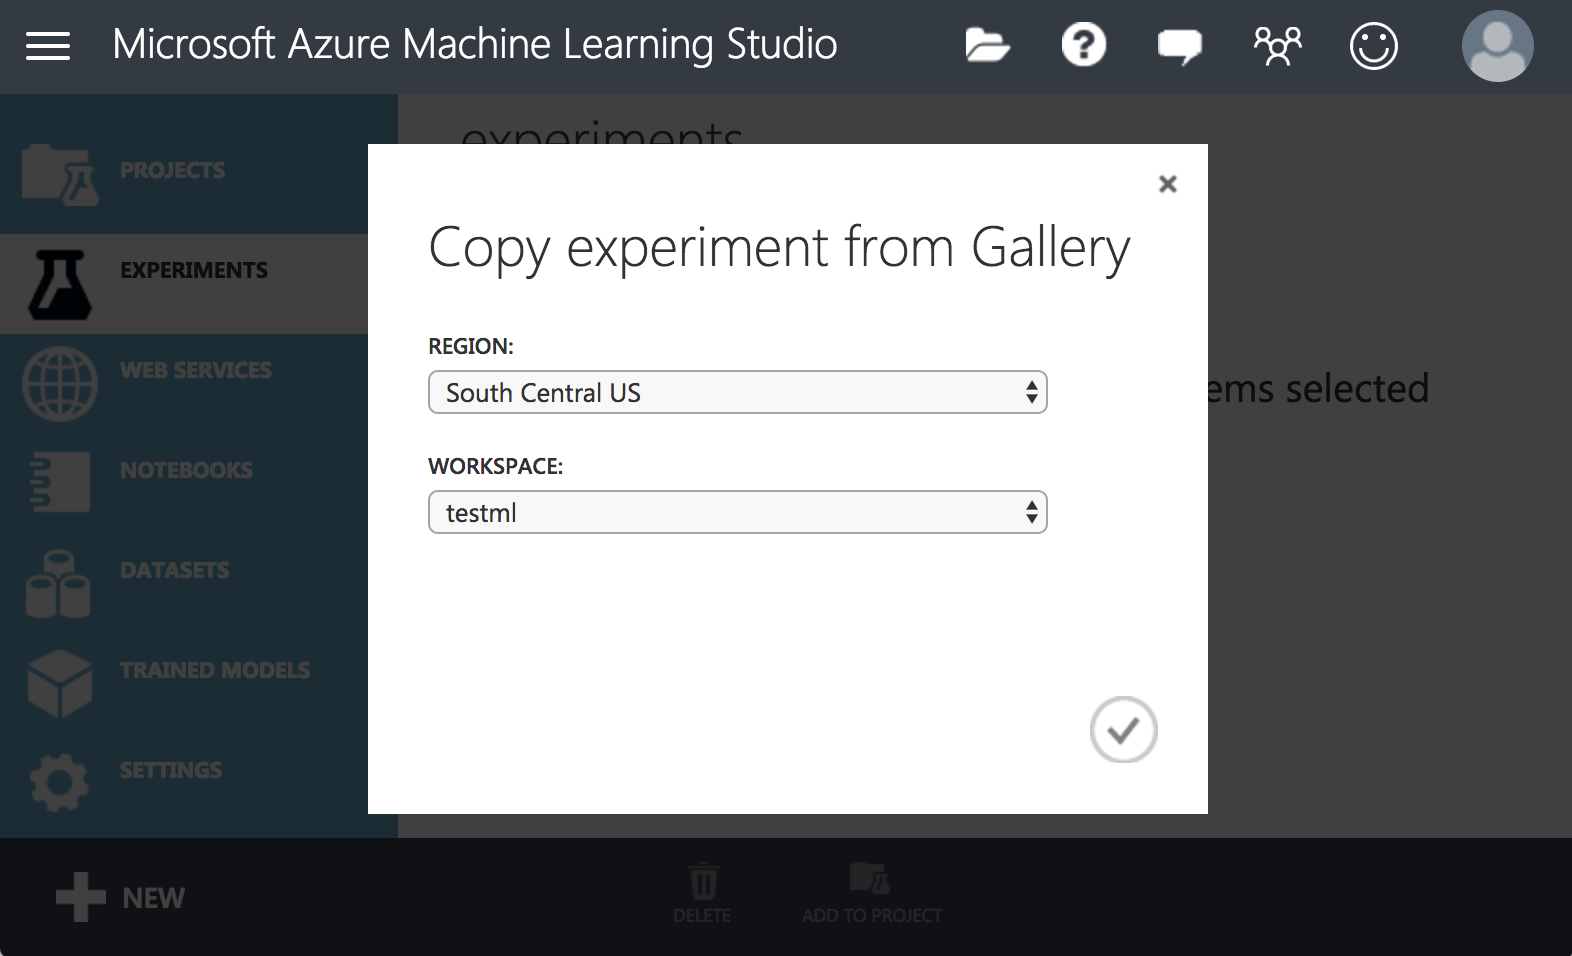
An Azure Machine Learning Workspace is require to use the experiment and create a web service. Paid and free Workspaces are available.

Once a workspace is created, the training experiment will be copied.
Now the training experiment must be Run to train the model.
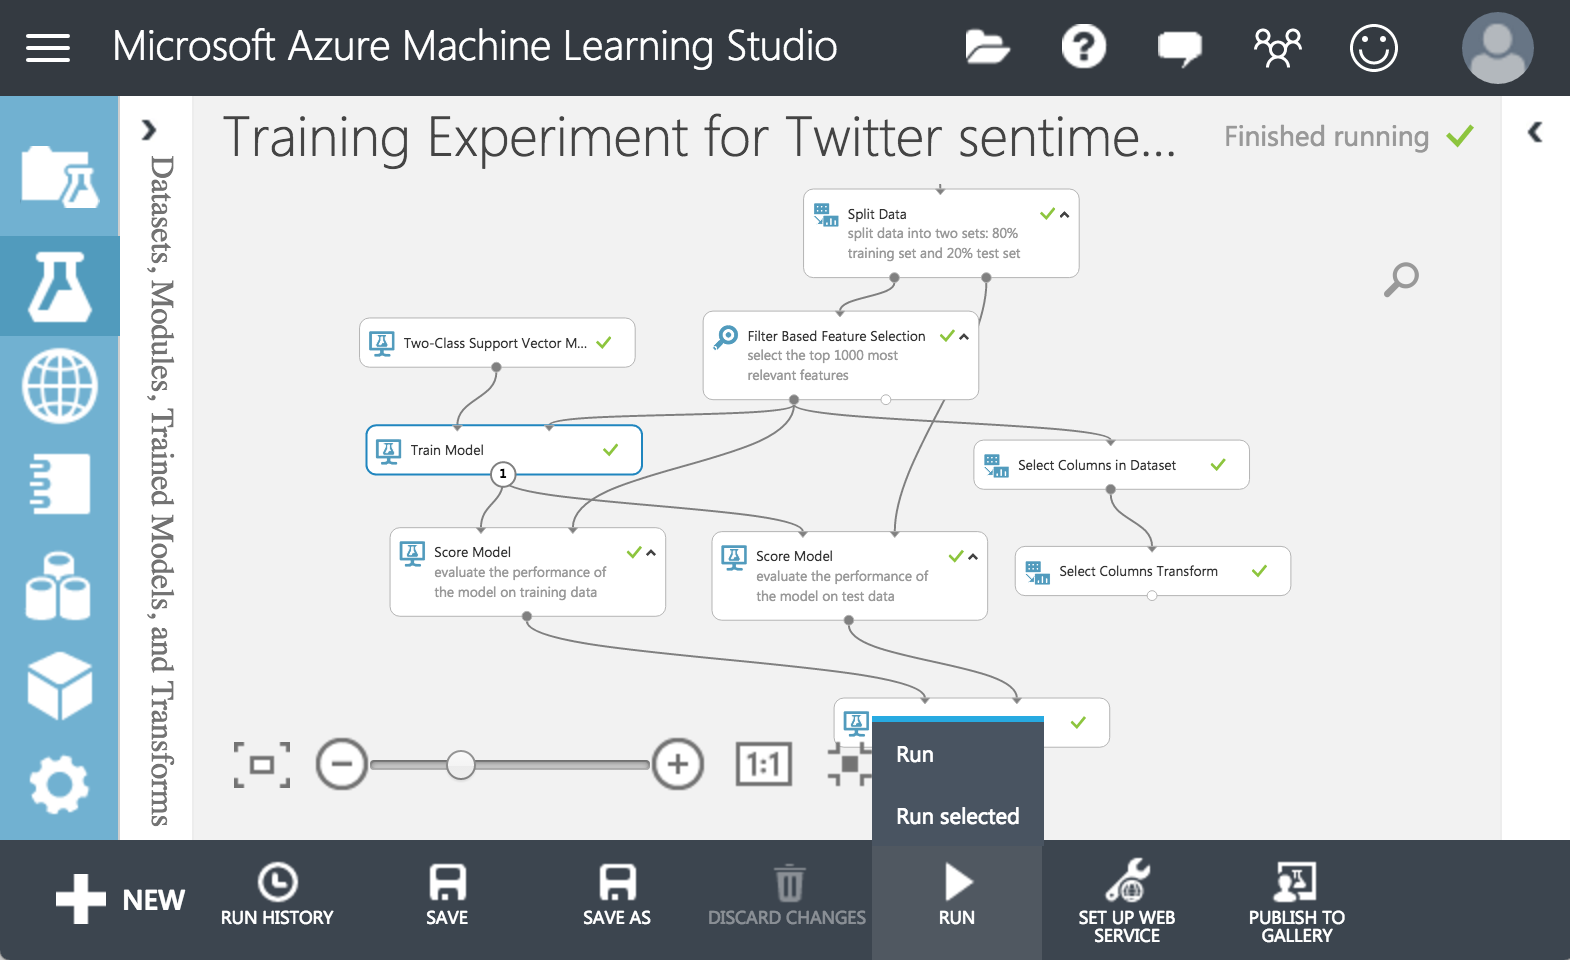
After the run is complete, the results must be saved in to the Workspace.
- first result Right+Click the ‘Train Model’ node and select ‘Trained Model’ > ‘Save As Trained Model’
- second result Right+Click the ‘Select Columns Transform’ node and select ‘Columns selection transformation’ > ‘Save As Transform’
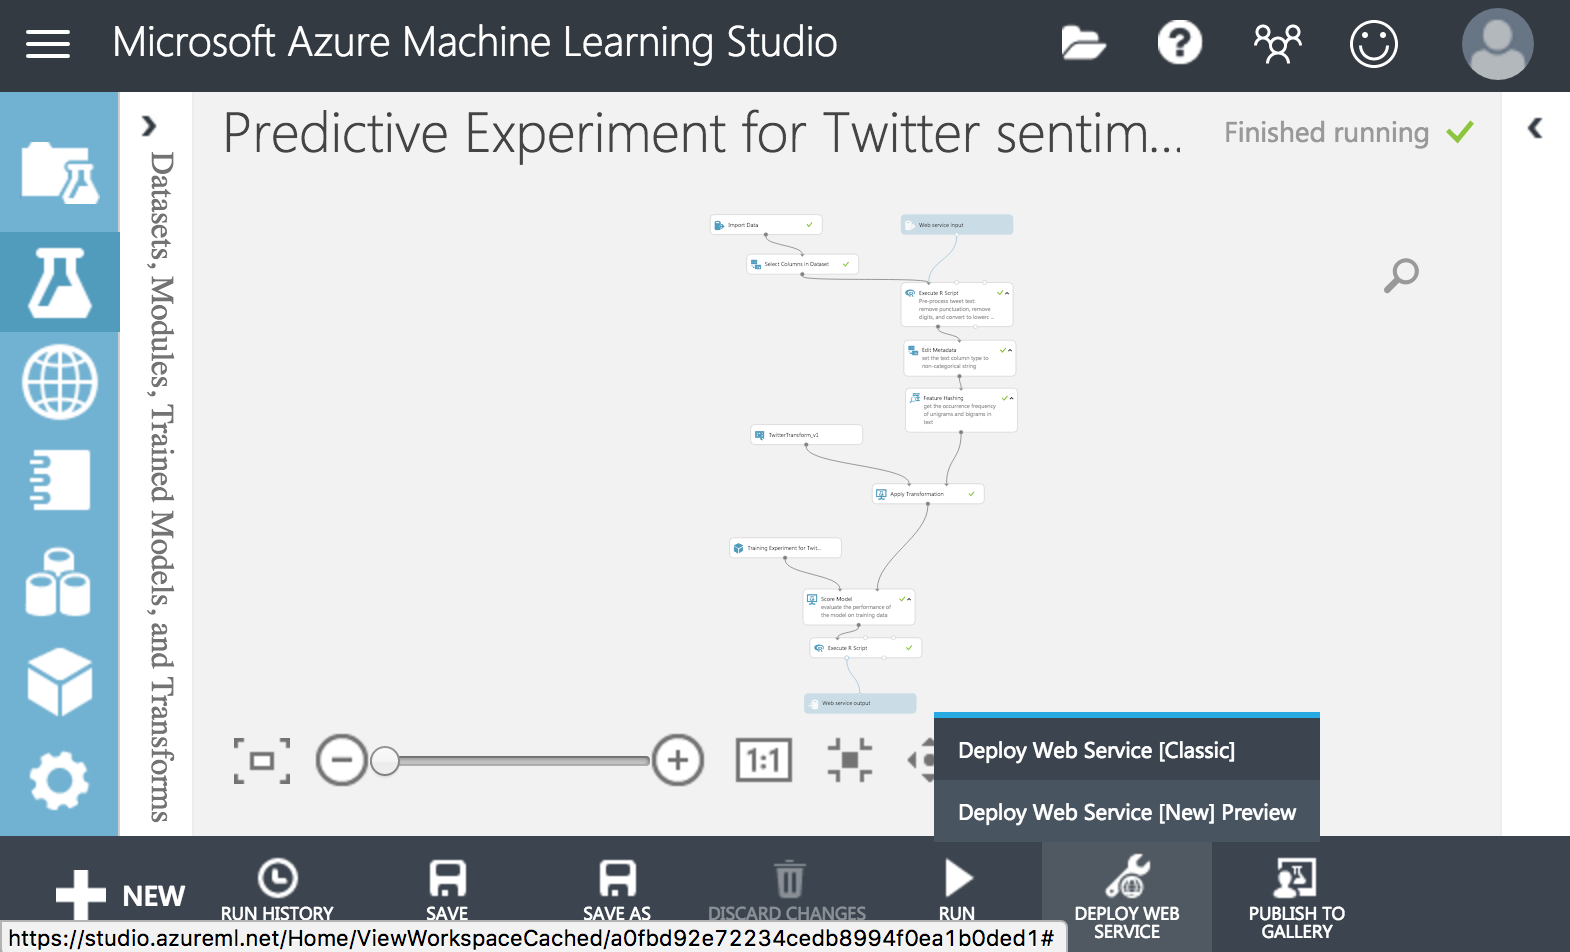
To get started, open Predictive Experiment for Twitter sentiment analysis and click ‘Open in Studio’ link to add the predictive experiment into your Azure Machine Learning Workspace.
Just like before, the first step is to run the predictive experiment.
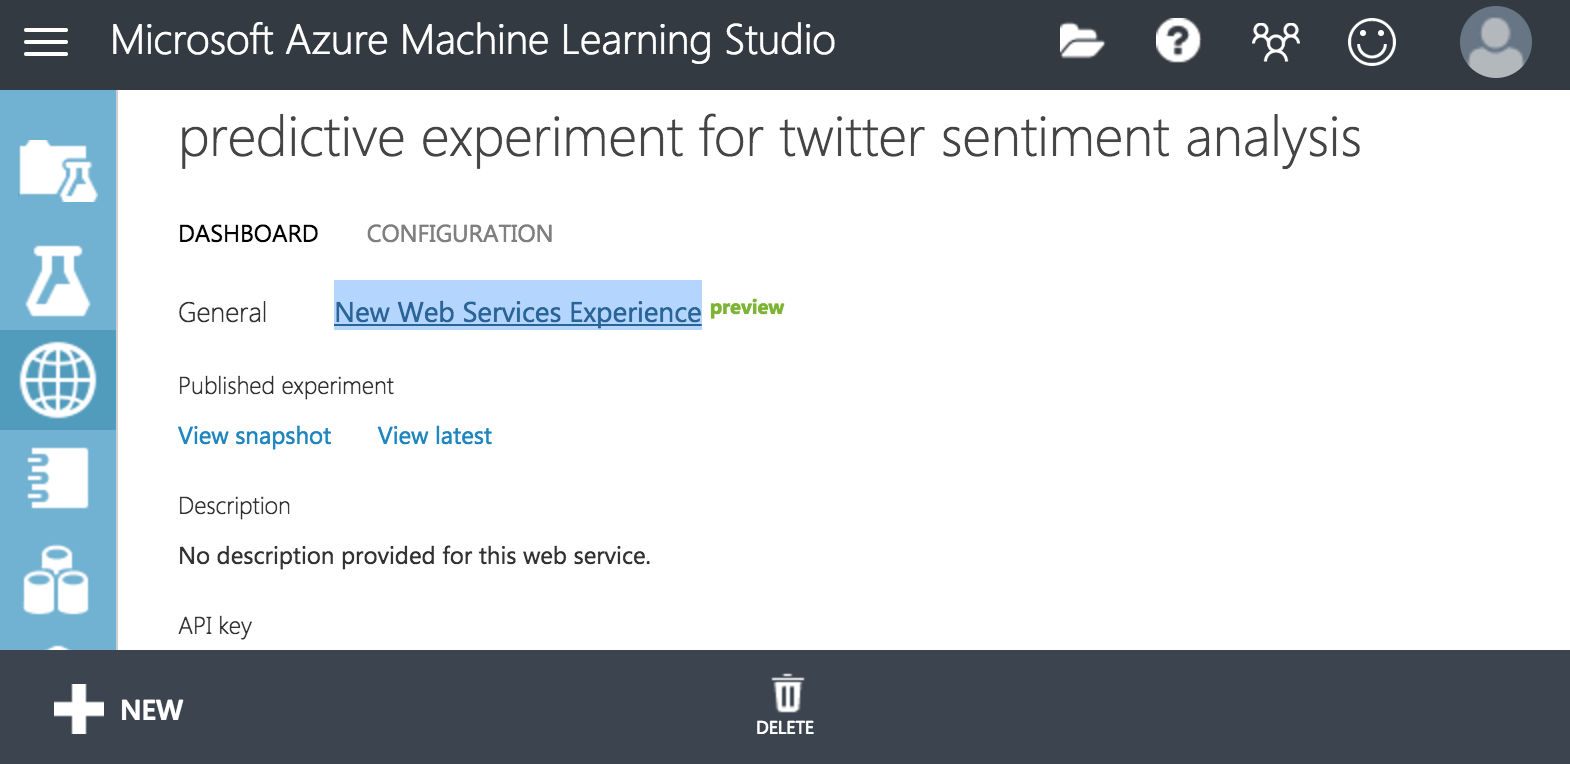
When the run is finished, deploy to a ‘Classic’ web service.
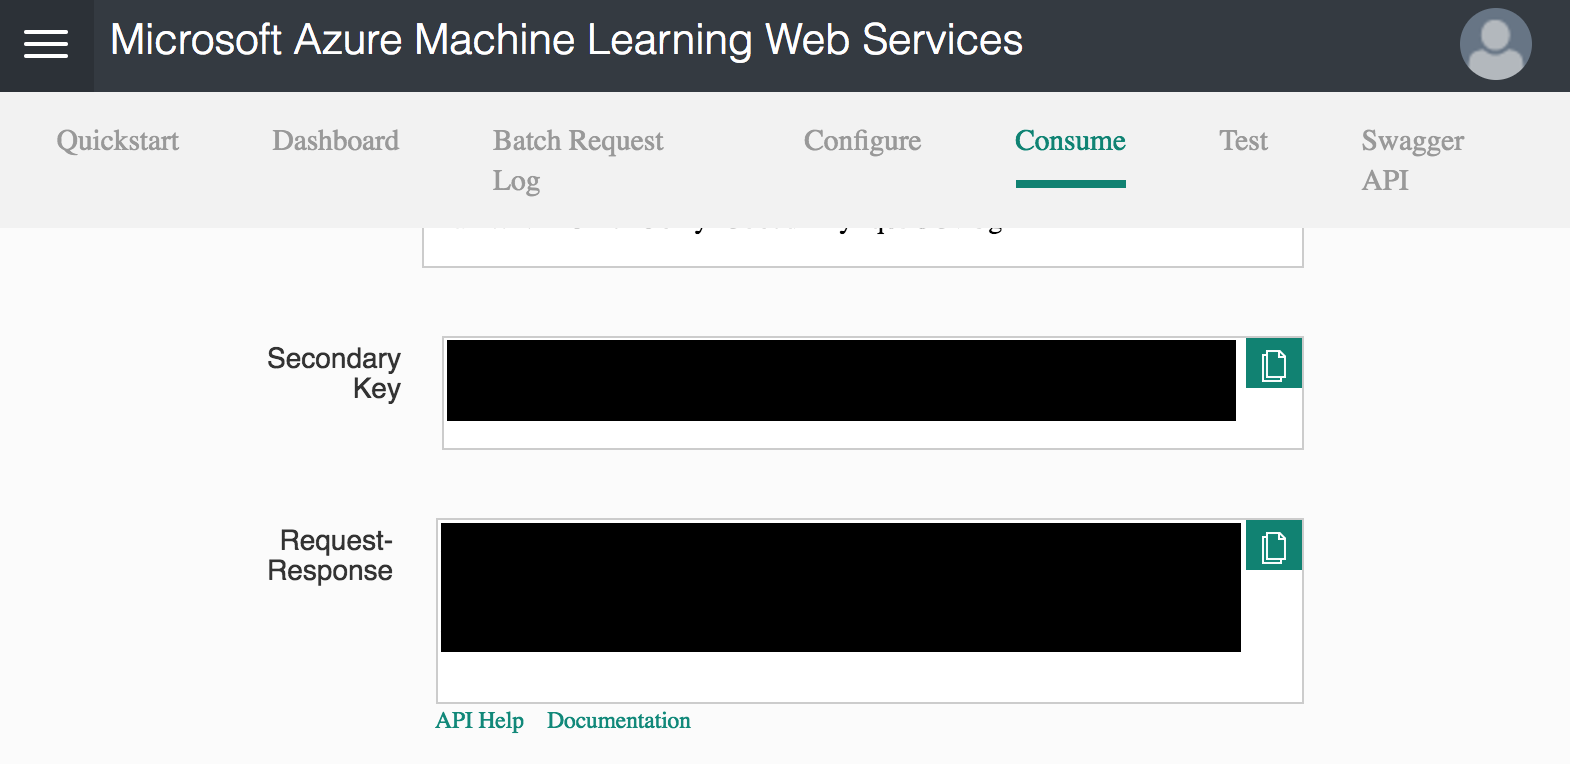
When the deploy is finished, navigate to the preview management portal.
The key and request response url must be copied into the twitter app settings.
Calling the web service
The web service expects an http POST request with an Authorization header and a json body.
This function sets the headers and builds the json body, then makes the http request. When the request completes, the response is returned as a string.
auto sentimentrequest = [](observe_on_one_worker worker, ::rxcurl::rxcurl factory, string url, string key, vector<string> text) -> observable<string> {

    std::map<string, string> headers;
    headers["Content-Type"] = "application/json";
    headers["Authorization"] = "Bearer " + key;

    auto body = json::parse(R"({"Inputs":{"input1":[]},"GlobalParameters":{}})");

    static const regex nonascii(R"([^A-Za-z0-9])");

    auto& input1 = body["Inputs"]["input1"];
    for(auto& t : text) {

        auto ascii = regex_replace(t, nonascii, " ");

        input1.push_back({ {"tweet_text", ascii} });
    }

    return observable<>::defer([=]() -> observable<string> {
        return factory.create(http_request{url, "POST", headers, body.dump()}) |
            rxo::map([](http_response r){
                return r.body.complete;
            }) |
            merge(worker) |
            tap([=](exception_ptr){
                cout << body << endl;
            });
    }) |
    subscribe_on(worker);
};
Batching calls to the web service
Making a separate http request per Tweet seems excessive. Thus, the twitter app will make calls for more than one tweet at a time.
The following records Tweets into a vector for 500ms and then ignores empty vectors.
buffer_with_time(milliseconds(500), tweetthread) |
filter([](const vector<Tweet>& tws){ return !tws.empty(); }) |
This code uses Range-v3 on the vector to extract the text of each tweet.
vector<string> text = tws |
    ranges::view::transform([](Tweet tw){
        auto& tweet = tw.data->tweet;
        return tweettext(tweet);
    });
Now sentimentrequest() creates the http request to the web service.
sentimentrequest(
    poolthread,
    factory,
    settings["SentimentUrl"].get<string>(),
    settings["SentimentKey"].get<string>(),
    text) |
Use Range-v3 on the http response to pair up each Tweet with its sentiment.
auto combined = ranges::view::zip(response["Results"]["output1"], tws);
putting it all together
reducers.push_back(
    ts |
    onlytweets() |
    buffer_with_time(milliseconds(500), tweetthread) |
    filter([](const vector<Tweet>& tws){ return !tws.empty(); }) |
    rxo::map([=](const vector<Tweet>& tws) -> observable<Reducer> {
        vector<string> text = tws |
            ranges::view::transform([](Tweet tw){
                auto& tweet = tw.data->tweet;
                return tweettext(tweet);
            });
        return sentimentrequest(poolthread, factory, settings["SentimentUrl"].get<string>(), settings["SentimentKey"].get<string>(), text) |
            rxo::map([=](const string& body){
                auto response = json::parse(body);
                return Reducer([=](Model& m){
                    auto combined = ranges::view::zip(response["Results"]["output1"], tws);
                    for (const auto& b : combined) {
                        auto sentiment = get<0>(b);
                        auto tweet = get<1>(b).data->tweet;
                        m.data->sentiment[tweet["id_str"]] = sentiment["Sentiment"];
                    }
                    return std::move(m);
                });
            });
    }) |
    merge(poolthread) |
    nooponerror() |
    start_with(noop));
composition
There was very little code to write to create a new http request for all the Tweets that arrived in a 500ms window and then split the sentiment results out and pair them with the Tweet.
The result is that the Tweets are displayed when they arrive and then marked with the sentiment when it arrives later. The effect is quite pleasing to watch.
rxcpp provided an easy way to express the coordination between the arriving tweets and the arriving sentiments and Range-v3 provided an easy way to manipulate the vectors. Each contributed a powerful abstraction that made a complex problem easy.